In this guide
You have just registered for GST, purchased Zoho Books, and logged in for the first time. The dashboard looks clean. But between this moment and your first GST-compliant invoice, there are 12 configuration steps that most businesses get wrong - and each wrong step creates a compliance problem that compounds every month.
This guide walks you through every GST configuration step in Zoho Books - from enabling GST and entering your GSTIN, through HSN/SAC code assignment, e-invoicing setup, online filing configuration, GSTR-2B reconciliation, reverse charge, and TDS - with the exact navigation paths, field-by-field instructions, and a monthly compliance checklist. For a broader overview of Zoho Books features and pricing, see our complete Zoho Books guide.
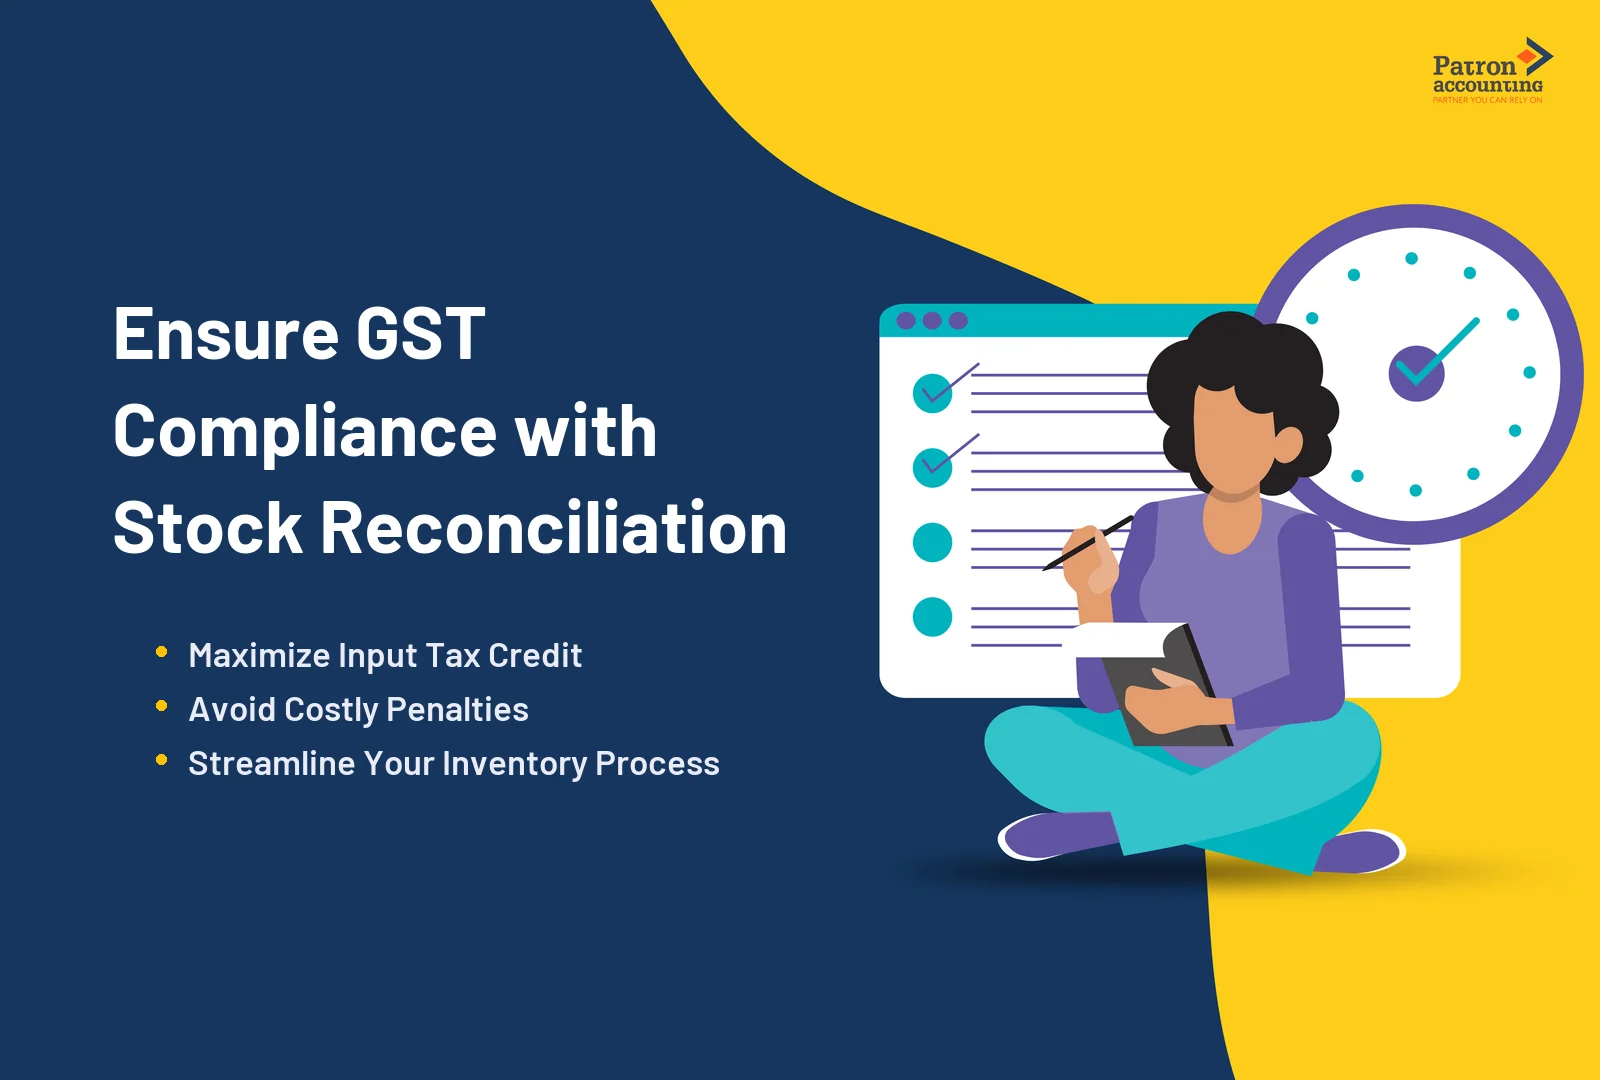
Why GST Configuration in Zoho Books Must Be Done Before Anything Else
Every invoice you create in Zoho Books carries the GST configuration you set up on day one. If your GSTIN is entered incorrectly, every invoice will have the wrong GSTIN - and your GSTR-1 will not match the GST portal. If HSN codes are missing, your invoices fail e-invoicing validation. If tax rates are wrong, your ITC claims are disputed.
GST configuration is not a one-time administrative task - it is the foundation of 12 months of compliance. For businesses that need professional setup, our Zoho Books accounting services include full GST configuration as part of the implementation.
Key Terms You Should Know
- GST Treatment: Classification of each customer/vendor - Registered Business, Unregistered Business, Consumer, Overseas, Special Economic Zone (SEZ), or Deemed Export. Determines CGST/SGST vs IGST calculation.
- Place of Supply: The state where the goods are delivered or services are consumed. Determines whether the transaction is intra-state (CGST+SGST) or inter-state (IGST).
- Reverse Charge Mechanism (RCM): When the buyer pays GST instead of the seller - applicable on purchases from unregistered dealers (for specified goods/services) and certain notified services.
- E-Invoicing (IRN): Invoice Reference Number generated by the government's Invoice Registration Portal. Mandatory for businesses with aggregate turnover above Rs 5 crore.
- GSTR-2B: Auto-generated statement of ITC available to the recipient, based on suppliers' GSTR-1 filings. Used for ITC reconciliation before filing GSTR-3B.
- GSP (GST Suvidha Provider): Authorised intermediary that connects accounting software to GSTN. Zoho is a registered GSP.
- Composition Scheme: Simplified GST scheme for businesses under Rs 1.5 crore turnover - fixed rate, no ITC, quarterly filing. Must be configured in Zoho Books if applicable.
Who Needs This Guide?
- New Zoho Books users setting up GST for the first time
- Businesses migrating from Tally or manual accounting to Zoho Books
- CAs and bookkeepers configuring Zoho Books for clients
- Multi-state businesses adding additional GSTINs to an existing Zoho Books organisation
- Businesses crossing the e-invoicing threshold and needing IRP integration
Before starting, confirm you have a valid GSTIN. If not, complete your GST registration first. You also need to choose the right Zoho Books plan - use our Zoho Books pricing calculator to determine the plan that fits your business size and GSTIN count.
12-Step GST Setup in Zoho Books: The Complete Configuration
Step 1: Enable GST Registration
Navigation: Settings (gear icon, top right) → Taxes & Compliance → GST Settings
- Toggle on: 'Is your business registered for GST?'
- Enter your 15-digit GSTIN (format: 29AABCU9603R1ZM)
- Enter your business legal name as it appears on the GST certificate
- Select your GST registration date (the date on your GST certificate, not today's date)
- If you are under the Composition Scheme, enable the toggle and enter your composition rate
- Click Save
Tip: Double-check your GSTIN digit by digit. A single incorrect digit means every invoice you generate will be rejected during e-invoicing and flagged during GSTR-1 matching.
Step 2: Configure Online Filing (GSP Connection)
Navigation: Settings → Taxes & Compliance → Online Filing Settings
- Enter your GSTN portal username (the username you use to log into gst.gov.in)
- Set the Reporting Period - monthly or quarterly (QRMP scheme)
- Authenticate: Zoho Books will send an OTP to your registered mobile number for verification
- Click Save - the GSP connection is now active
Note: This step enables two-way data flow between Zoho Books and GSTN. You can push GSTR-1 data to the portal and pull GSTR-2B data from the portal - all without leaving Zoho Books.
Step 3: Set Up Tax Rates
Navigation: Settings → Taxes & Compliance → Tax Rates
Zoho Books pre-configures standard GST rates (0%, 5%, 12%, 18%, 28%) with automatic CGST/SGST and IGST split. You may need to add custom rates for cess items (e.g., compensation cess on luxury goods, aerated beverages, coal). Click 'New Tax Rate' to add any rate not in the default list. Ensure exempt and nil-rated categories are also configured - these are distinct under GST law and affect your GSTR-1 reporting.
Step 4: Assign HSN/SAC Codes to Products and Services
Navigation: Items → Select each item → Tax tab → Enter HSN/SAC code
- For goods: Use 4-digit HSN codes (turnover below Rs 5 crore) or 6-digit codes (above Rs 5 crore)
- For services: Use 6-digit SAC codes (mandatory for all service invoices)
- Zoho Books has a built-in HSN/SAC search - type the first few digits or keywords to find the correct code
- Set the default GST rate for each item - this auto-populates on every invoice containing that item
Warning: Incorrect HSN codes cause e-invoice rejection by the IRP portal. The IRP validates HSN codes against the government master list. If your code is invalid, the IRN will not be generated and the invoice is not legally compliant.
Step 5: Configure Customer and Vendor GST Treatment
Navigation: Contacts → Select customer/vendor → Tax tab → GST Treatment
For each contact, select the correct GST treatment:
| GST Treatment | When to Use |
|---|---|
| Registered Business | B2B customer/vendor with valid GSTIN - intra-state = CGST+SGST, inter-state = IGST |
| Unregistered Business | Business without GSTIN - B2C treatment, no ITC available to recipient |
| Consumer | End consumer - B2C, no GSTIN required, simplified invoice format |
| Overseas | Export customer / import vendor - zero-rated (with LUT) or IGST with refund |
| SEZ (Special Economic Zone) | SEZ unit or developer - zero-rated supply with specific documentation |
| Deemed Export | Supply to specified projects - IGST charged, refund claimed by supplier or recipient |
Tip: Always enter the customer's GSTIN and verify it with the government portal before saving. An incorrect GSTIN means the recipient cannot claim ITC on your invoice - this will damage your business relationship.
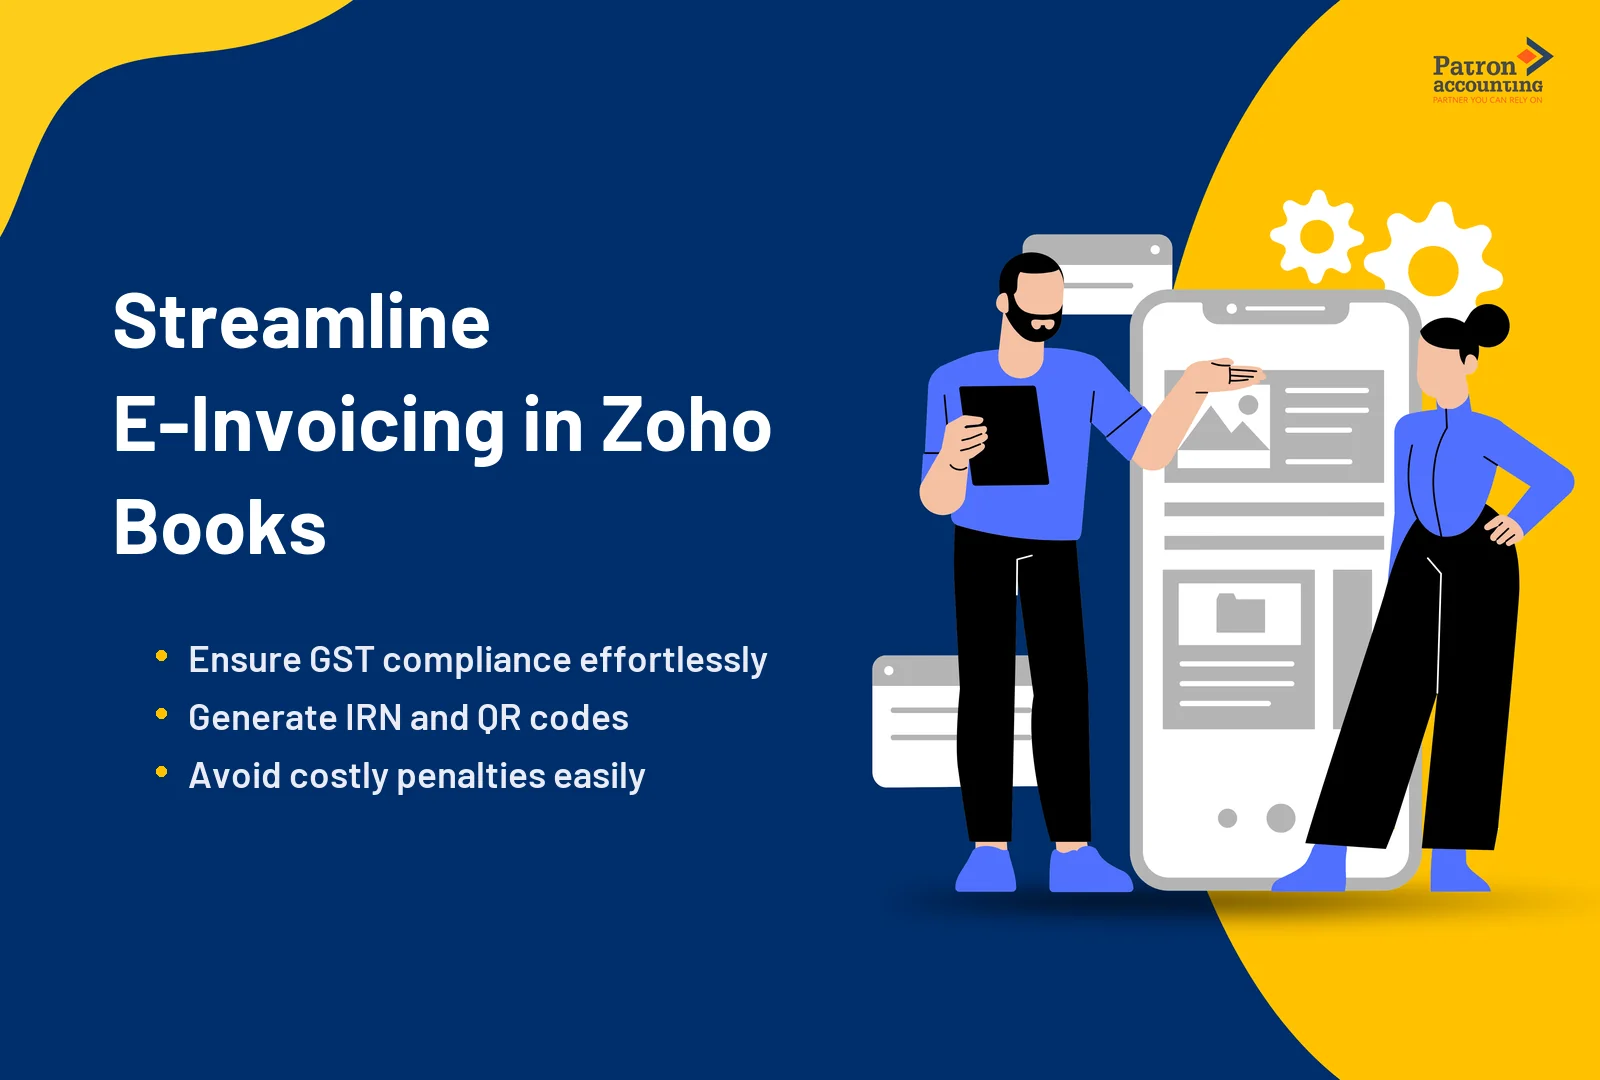
Step 6: Enable E-Invoicing (If Applicable)
Navigation: Settings → Taxes & Compliance → E-Invoicing
- Toggle on e-invoicing if your aggregate turnover exceeds Rs 5 crore
- Enter your IRP portal credentials (username and password from einvoice1.gst.gov.in)
- Select auto-generation: Zoho Books will automatically generate IRN and QR codes for every B2B invoice on save
- Test with a draft invoice before going live - verify IRN generation and QR code placement
E-invoicing applies only to B2B, B2G (business to government), and export invoices. B2C invoices do not require e-invoicing. Zoho Books automatically identifies which invoices need e-invoicing based on the customer's GST treatment.
Step 7: Configure E-Way Bill Integration
Navigation: Settings → Taxes & Compliance → E-Way Bill Settings
Enable e-way bill generation for invoices involving transport of goods worth more than Rs 50,000. Enter your e-way bill portal credentials. Zoho Books auto-populates transporter details, vehicle number, and distance from the invoice. You can generate the e-way bill directly from the invoice screen - no need to re-enter data on the government portal.
Step 8: Set Up Reverse Charge Mechanism
Navigation: Settings → Taxes & Compliance → GST Settings → Enable Reverse Charge
Toggle on 'Track purchases liable for reverse charge.' When you create a bill from an unregistered vendor for notified goods/services, Zoho Books will automatically calculate GST under reverse charge - the buyer pays the tax. This amount appears in your GSTR-3B liability (Table 3.1(d)) and simultaneously as ITC (Table 4(A)(3)).
Step 9: Configure TDS Settings
Navigation: Settings → Taxes & Compliance → TDS
- Enter your TAN (Tax Deduction and Collection Account Number)
- Enable TDS tracking
- For each vendor, assign the correct TDS section: 194C (contractors 1%/2%), 194J (professionals 10%), 194H (commission 5%), 194I (rent 10%), etc.
- Zoho Books auto-deducts TDS on every bill and payment to that vendor
- Generate Form 16A certificates and TDS return data from the Reports section
Step 10: Customise Invoice Template for GST Compliance
Navigation: Settings → Templates → Invoices → Edit
Ensure your invoice template includes all mandatory GST fields: GSTIN of supplier, GSTIN of recipient, place of supply, HSN/SAC code for each line item, tax rate and amount breakup (CGST, SGST, IGST separately), invoice number (in continuous series), date, and total. Zoho Books' default Indian template includes these fields, but verify if you have customised the template.
Step 11: Set Up GST Approval Workflow (Optional but Recommended)
Navigation: Settings → GST Filing → Enable Approval Process
Enable the approval workflow so that GSTR-1 and GSTR-3B submissions are reviewed by your accountant or admin before being pushed to GSTN. This prevents accidental filing of incorrect returns. You can assign up to 5 approvers. The approver reviews the summary, approves or rejects with reasons, and only approved returns can be submitted.
Step 12: Run Your First GST Filing Test
Navigation: GST Filing → Select period → Push to GSTN → Review → File
- Create 2-3 test invoices (one intra-state B2B, one inter-state B2B, one B2C).
- Go to GST Filing → GSTR-1 → Select the current month.
- Click 'Push to GSTN' to send data to the portal.
- Review the summary - verify totals match your Zoho Books reports.
- If everything matches, file GSTR-1 directly from Zoho Books.
- Repeat for GSTR-3B - review tax liability, ITC claimed, and net payable.
For ongoing GST return filing support, explore our GST return filing services.
Documents and Information Needed Before You Start
- GST registration certificate with 15-digit GSTIN
- GSTN portal login credentials (username and password)
- IRP portal credentials for e-invoicing (if applicable)
- E-way bill portal credentials
- TAN (Tax Deduction Account Number) for TDS
- Complete customer master list with GSTINs and billing/shipping addresses
- Complete vendor master list with GSTINs and TDS sections
- Product/service catalogue with HSN/SAC codes and GST rates
- Opening balances (trial balance) as of migration date
- Bank account details for bank feed connection
Monthly GST Compliance Checklist in Zoho Books
After setup, follow this monthly routine to stay compliant:
| By Date | Task | Zoho Books Path |
|---|---|---|
| 1st-5th | Reconcile all bank transactions from previous month | Banking → Reconcile |
| 1st-7th | Review and finalise all sales invoices and credit notes | Sales → Invoices / Credit Notes |
| 1st-7th | Review and finalise all purchase bills and debit notes | Purchases → Bills / Debit Notes |
| 8th-10th | Push GSTR-1 data to GSTN and verify summary | GST Filing → GSTR-1 → Push to GSTN |
| 11th | File GSTR-1 (due 11th of following month) | GST Filing → GSTR-1 → File |
| 14th-15th | Pull GSTR-2B from GSTN, reconcile with purchase register | GST Filing → GSTR-2B → Pull from GSTN |
| 15th-18th | Resolve GSTR-2B mismatches - contact vendors, correct entries | Reports → GST Mismatch Report |
| 18th-19th | Review GSTR-3B summary - tax liability, ITC, net payable | GST Filing → GSTR-3B → Review |
| 20th | File GSTR-3B and pay GST (due 20th of following month) | GST Filing → GSTR-3B → File |
| 25th-30th | Lock accounting period for the month, archive reports | Settings → Closing Books |
Note: QRMP scheme businesses file GSTR-1 and GSTR-3B quarterly instead of monthly. However, the invoice finalisation and bank reconciliation steps should still be done monthly to avoid quarter-end pile-up.
Common GST Setup Mistakes in Zoho Books
Mistake 1: Creating invoices before completing GST setup. Invoices created before GST is enabled will not have tax breakup. These invoices cannot be retroactively made GST-compliant - you must void them and re-issue. Complete all 12 steps above before your first invoice.
Mistake 2: Not verifying customer GSTINs. Entering an incorrect customer GSTIN means the invoice appears in the wrong recipient's GSTR-2A - they cannot claim ITC, and the correct recipient's ITC is missing. Always verify GSTINs on the GST portal before saving contacts.
Mistake 3: Skipping GSTR-2B reconciliation. Many businesses file GSTR-3B without reconciling GSTR-2B first. This leads to claiming ITC that is not available (vendor has not filed) or missing ITC that is available (invoice not recorded in books). Reconcile every month before filing GSTR-3B.
Mistake 4: Not enabling reverse charge for unregistered vendor purchases. If you purchase notified goods/services from unregistered dealers and do not enable reverse charge in Zoho Books, the GST on those purchases is not tracked - leading to missed self-assessment liability and lost ITC.
Mistake 5: Ignoring the approval workflow. Without the approval workflow, any user with filing access can accidentally push incorrect data to GSTN. Once pushed, incorrect GSTR-1 data requires amendment - a process that delays filing and creates mismatch notices.
How Zoho Books GST Setup Connects with the Broader Compliance Ecosystem
Zoho Books' GST configuration creates a data pipeline that flows through the entire compliance ecosystem. Invoices created in Zoho Books feed into GSTR-1. Purchase bills feed into GSTR-3B ITC claims. GSTR-2B data from GSTN flows back into Zoho Books for reconciliation. E-invoicing data flows through the IRP portal. E-way bill data flows through the NIC portal. TDS data flows into Form 26AS via TRACES.
Each of these connections depends on the initial configuration being correct. A wrong GSTIN breaks the GSTR-1 chain. A missing HSN code breaks the e-invoicing chain. A wrong place of supply breaks the CGST/SGST vs IGST split. This is why the 12-step setup process must be completed in sequence - each step builds on the previous one.
Key Takeaways
GST configuration in Zoho Books involves 12 sequential steps - from enabling GST registration and configuring the GSP connection, through HSN/SAC code assignment, e-invoicing setup, reverse charge, TDS, and approval workflows - each of which must be completed before the first invoice is created.
The GSP integration (Step 2) is what makes Zoho Books uniquely powerful for Indian businesses - it enables two-way data flow with GSTN, allowing GSTR-1/3B filing and GSTR-2B reconciliation from within the software without switching to the GST portal.
The monthly compliance checklist - bank reconciliation by the 5th, GSTR-1 filing by the 11th, GSTR-2B reconciliation by the 15th, and GSTR-3B filing by the 20th - ensures that GST compliance is a routine monthly process rather than a stressful year-end exercise.
The most common setup mistakes - creating invoices before GST is enabled, not verifying customer GSTINs, skipping GSTR-2B reconciliation, and ignoring reverse charge - all have cascading effects on ITC claims, vendor relationships, and tax liability calculations.
E-invoicing (Step 6) is mandatory for businesses above Rs 5 crore aggregate turnover. The IRP portal validates HSN codes, GSTINs, and invoice format - incorrect Zoho Books setup means invoice rejection at the portal level.
Need Help Setting Up Zoho Books for GST?
The 12-step GST configuration in Zoho Books determines the accuracy of every invoice, every return, and every ITC claim your business generates. Getting it right from day one saves months of correction work.
Explore our Zoho Books setup services for CA-supervised GST configuration, data migration, bank feed setup, and ongoing monthly compliance.
Common Questions
Frequently Asked Questions
Have a look at the answers to the most asked questions.